How to Use Continuous Lighting in Photography
Photography is an art form, and I love getting a chance to be creative. There are a ton of different ways to be creative, but for me, I like doing things with lighting. For the main part, I use speedlights or strobes for all of my creative shots. I have found, though, that there are some negatives to flash and they don't work in every situation. Because of that, recently I've been exploring some options with continuous lighting.
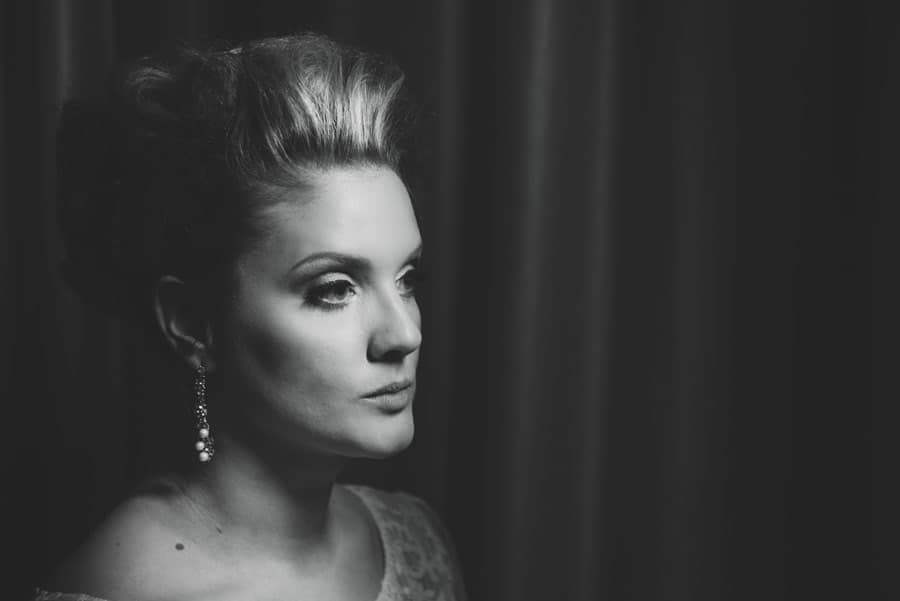
Continuous lighting is not perfect, but it definitely has some benefits over flash. If you're looking for something a little different, check out these 5 Reasons to Use Continuous Lighting with Your Photography
1. Cost
Flashes can be extremely expensive. I know I've spent over $1000 on one strobe and around $400 on a speedlight. Even my cheapest speedlights I own were around $150 a piece. There are expensive options for continuous lighting as well, but in general they are much cheaper than flashes.
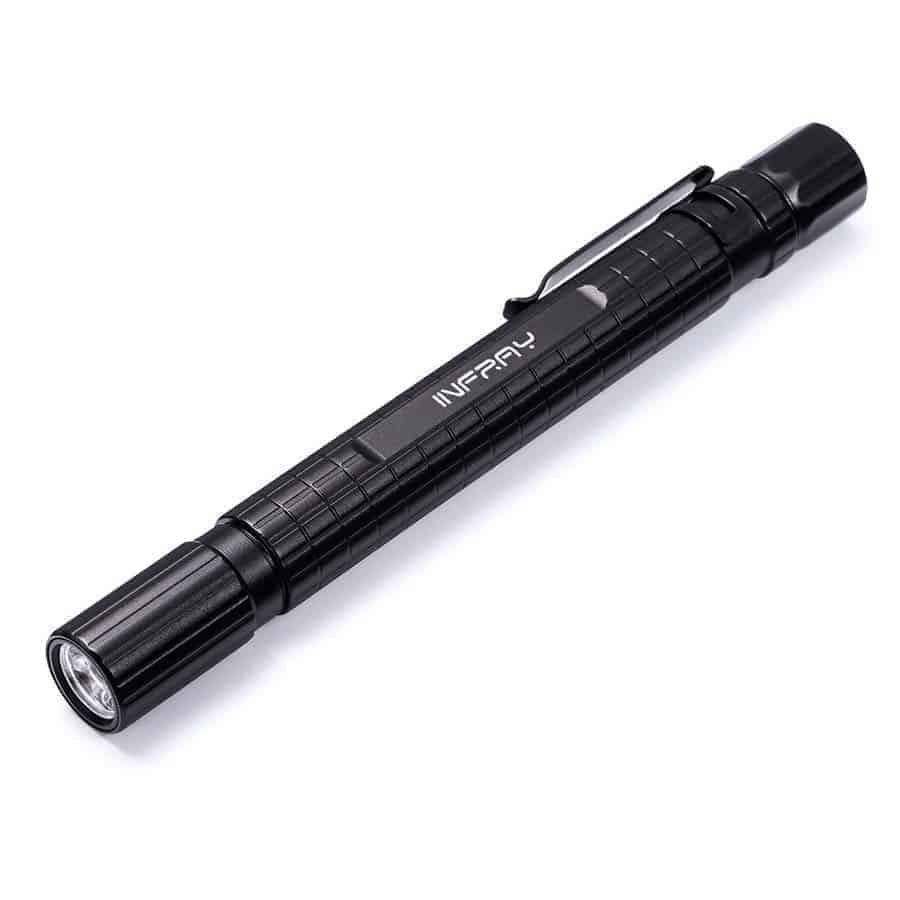
The really interesting thing about continuous lighting is that there are so many options out there. Many of the options aren't actually made for photography, but work well. Take a look around you. You've got lights basically everywhere you go. You could spend just a few dollars and use regular light bulbs or a shop light. You could also use all forms of flashlights. I've found some really interesting little LED lights that are about the size of a large pen. With these options you're looking at around $2-$15! That's pretty amazing.
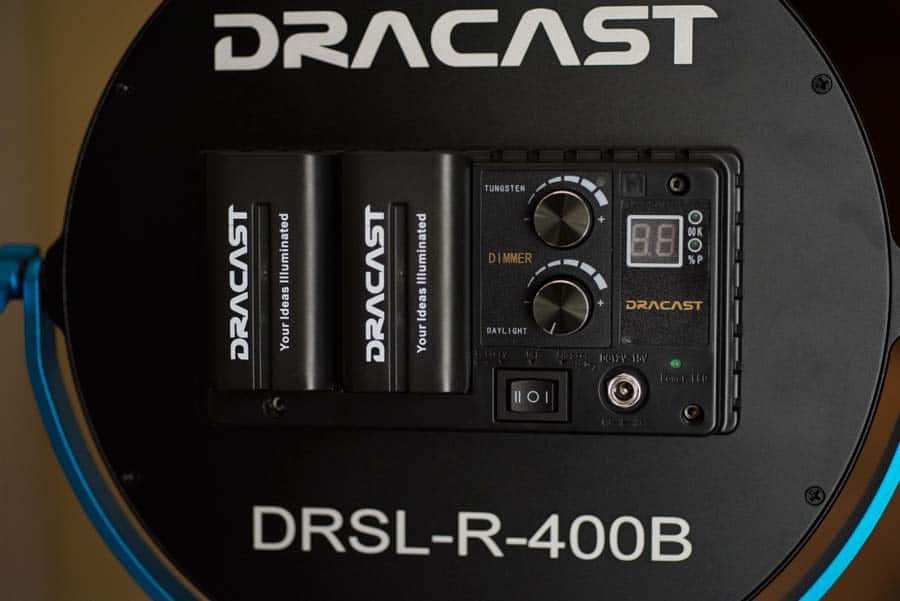
If you're willing to spend a little bit more, you can get a continuous light that is made for video or photography. The most common light I see out there are LED lights meant to be used on camera for video, but they work just as well for photography. Most of these are smaller, around 6 inches wide and cost only $30-$120. Then there are the larger options that are made for being used off camera. I own the Dracast Silkray 400 Bi-Color LED and it's very useful. The most well known, though, is the Westcott Icelight. These are the more expensive options, but still, they are only $150-$300, which still make them cheaper than most flashes.

The great news is that you might also already have a continuous light built into your current lights. Many strobes and now some flashes have modeling lights and you can use them just like you would any of the other lights, and it won't cost you a thing.
2. Creativity
The main reason I started looking into using continuous lighting was that I felt limited by flash. There were situations where flash either didn't work or was difficult to use. I've found that continuous lighting can actually work better in some situations and lead to creative photos that weren't really possible with flash.
One thing I really like doing is doing creative photos at night or in dark situations. Sometimes I found that my flashes were just too powerful and were just lighting up everything. I've tried raising the aperture and high speed sync and that works sometimes, but I still find it hard to deal with the power of flashes.
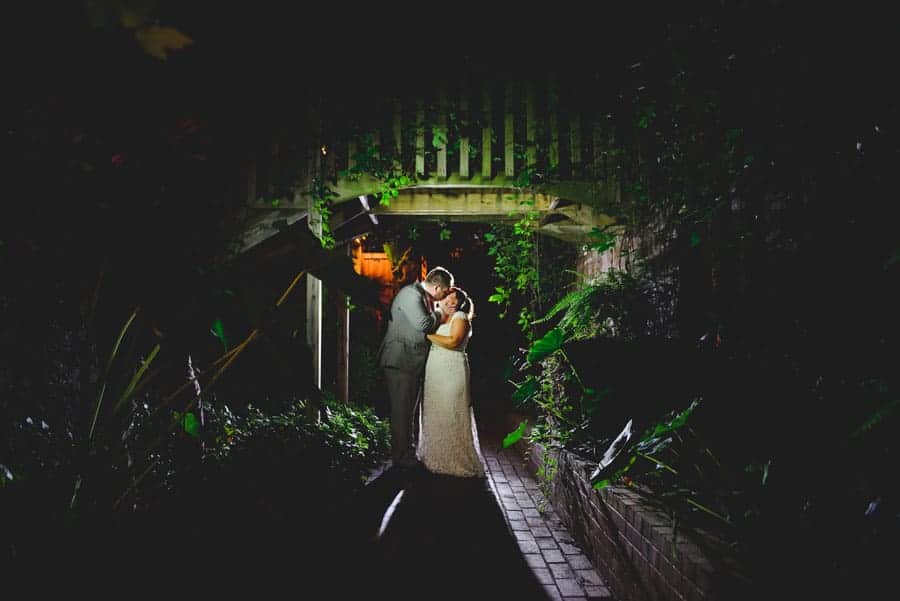
This is where continuous light really works well. Most of these lights have a much lower power, which allows me to mix in the natural light of the scene with it or just to have more creative control. Besides the power, these lights don't tend to throw as far and fall off faster. This means I don't have to worry about the light hitting something behind my subject.
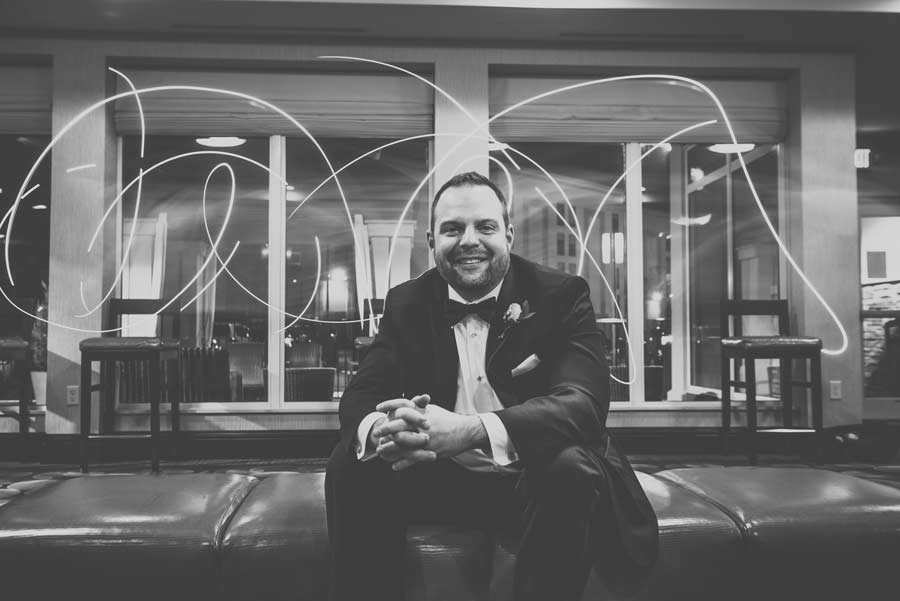
Continuous lights work differently than flashes do, so there are some really creative applications that really only work with continuous lights. The first is light painting. This is where you have your subject in a completely dark room and then you leave the shutter open for a long time. While the shutter is open, you use a light and paint over your subject. The longer you stay on an area and the more strokes you make, the brighter that spot is. I've never done it but it seems really interesting.
The other creative use is with motion blur. Flashes tend to freeze the subject. Yes you can drop the shutter speed and use rear sync and still get blur, but what I'm talking about is a little different. I first learned about this technique from Lindsay Adler. She had a model wearing a red dress, and the model was twisting and twirling the bottom of the dress. She mixed flash with continuous light. The flash was aimed at the top half of the subject and froze it, and the continuous light was aimed at the dress and created this fire like blur.
3. Ease of Use
A few days ago I was setting up a few flashes for some event photography and things just weren't going my way. For some reason, my transmitter wasn't working with one of the flashes. I then was going to use another set of transmitters, but the batteries were dead. When we finally got everything working, there was this annoying beep every time I took a shot. Now I know that can be useful, but I didn't want it in this situation, and I didn't have the time to figure out how to turn it off. With all of this said, flash can be a pain at times, but in general, continuous lighting is easier to use.
As I just mentioned, using flashes off camera can be a real pain. You have to find a way to trigger the flashes, and it doesn't matter if it's built into the flashes or a separate trigger system, things will go wrong occasionally. The flashes might not fire due to low batteries in the transmitter or maybe the cord got lose. Maybe you just put it on the wrong channel. Continuous lighting doesn't need any of that. You just turn it on and it works.
Flashes usually have a ton of options and figuring out the menu system can be overwhelming. There have been plenty of times I had to whip out the instruction manual to figure something out like how to turn off that beep or how to turn on slave mode. Continuous lighting, on the other hand, is pretty simple. Most are simply an on and off switch with a power dial. My Dracast Silkray 400 Bi-Color LED has a color temperature dial as well, but that's really it.
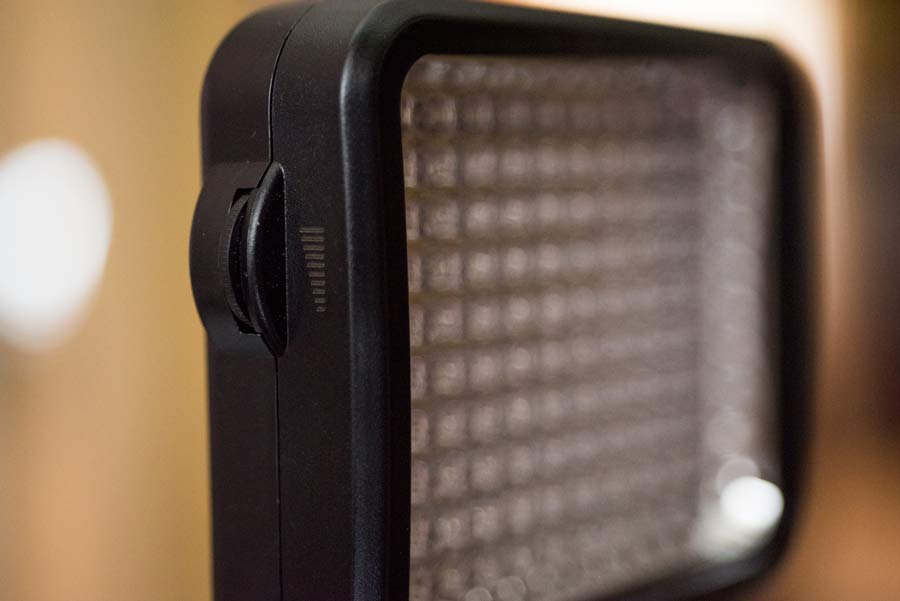
The ability to change the color temperature is a nice plus and easy to do. Often I find myself needing to match the available light, and to do this, I need to change the temperature of my light. All of the continuous lights that I've purchased had some ability to change the color temperature. For most this was through an included filter that you just slid in, but many now come with the ability to dial in the color temperature. Some of the higher end flashes now come with the filters, but as far as I know, there aren't any speedlights that can change color temperature.
Another great thing about continuous lighting is you can see what you're going to get. With flash, you have to aim it, take a photo, and then adjust. With continuous light you can see where the light is hitting and the lighting pattern as your moving it. This can save a lot of time going back and forth making micro adjustments.
Conclusion
Flash is always going to be my go to light for photography, but there are situations where I will ditch the flashes and grab a continuous light. No system is perfect, so I think it's good to have both of these. That way you can use the right tool for the situation and not be limited by a flash. If you haven't played around with continuous lighting for your photography yet, go buy a cheap light and try it out. Do some experimenting and see what you think. You might find that you've really been missing out.
Source: https://improvephotography.com/52856/3-reasons-to-use-continuous-light-with-your-photography/
0 Response to "How to Use Continuous Lighting in Photography"
Enregistrer un commentaire